You can install Viable Support for Zendesk just like any other WordPress plugin. Simply download it from WordPress.org,
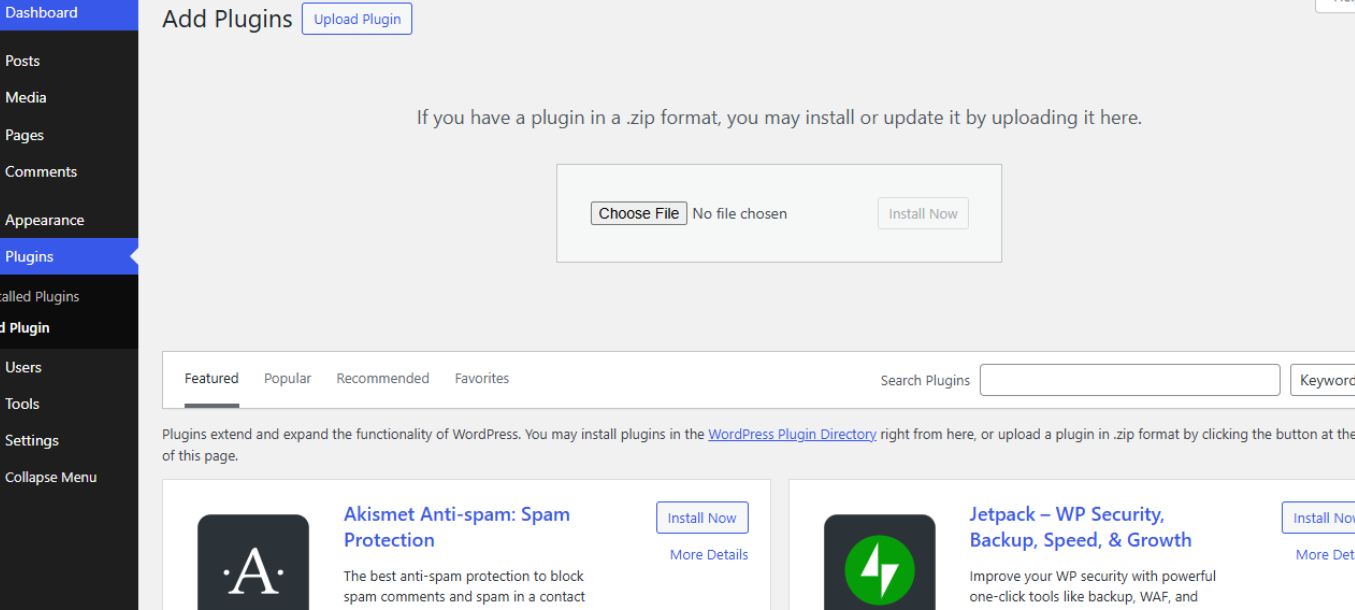
Go to WordPress Dashboard -> Plugins
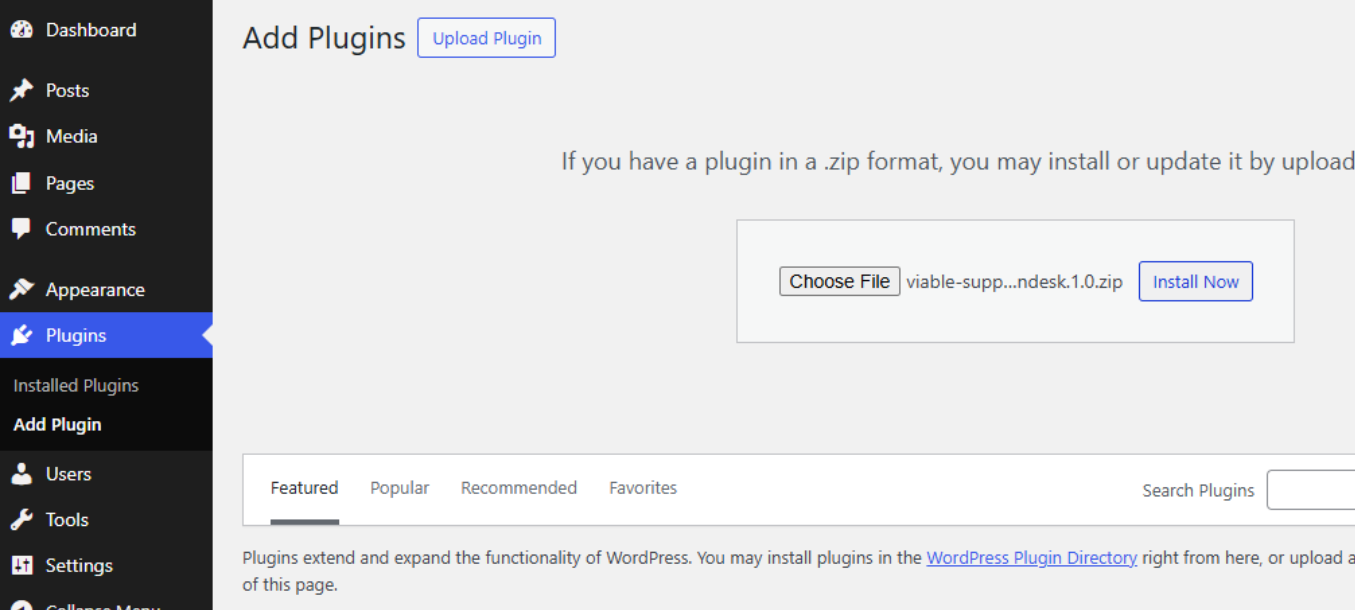
Click on Add Plugin -> Upload Plugin -> Choose New File
After selecting the file, click Install Now.
How to Install through the WordPress Dashboard?
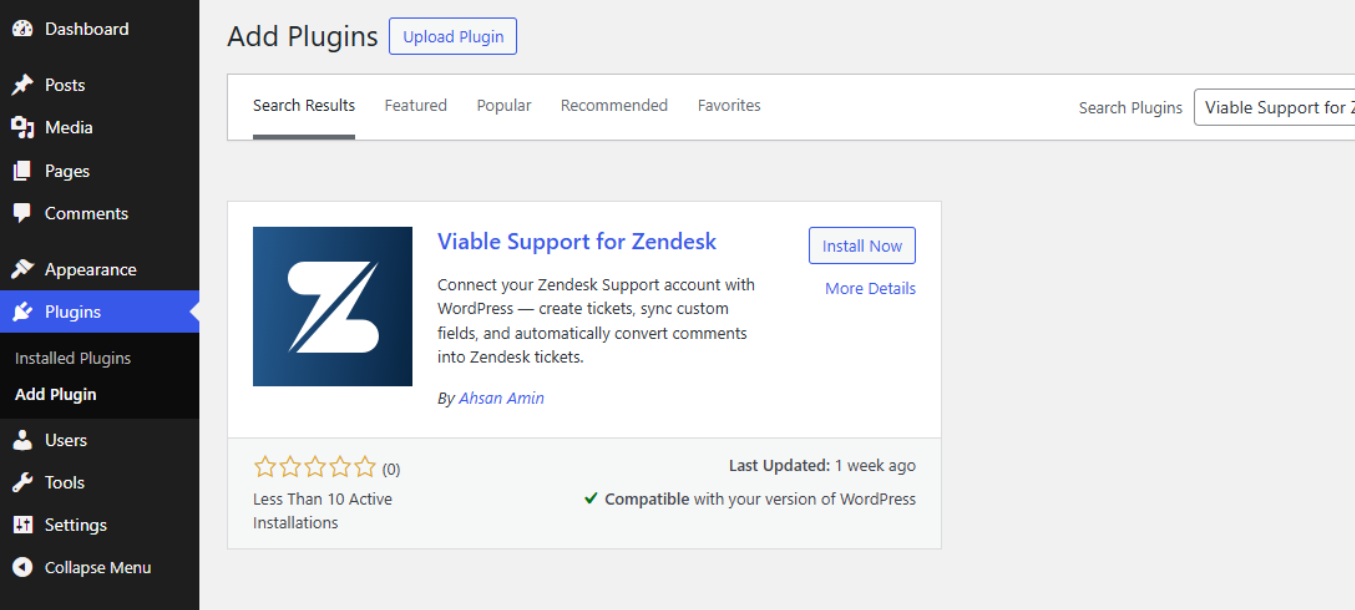
Click on Search Plugins and type the plugin name “Viable Support for Zendesk.” It will show in the search as shared below. Click on Install Now.
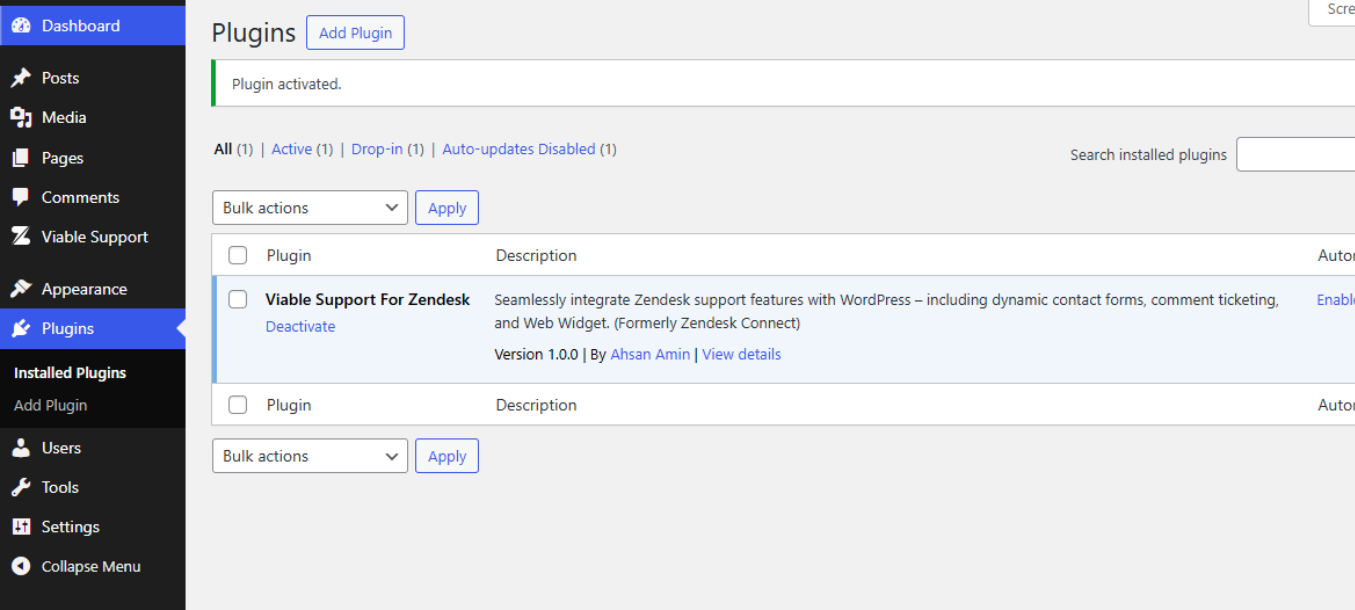
How do I Activate the Plugin?
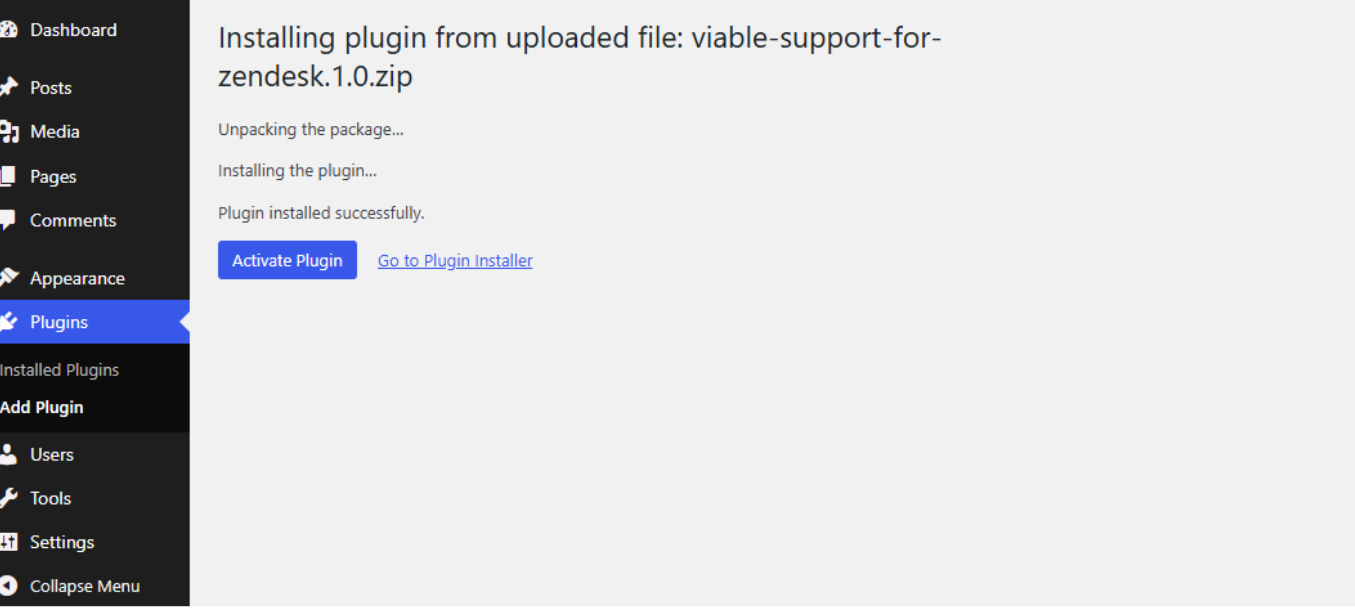
Click on Activate Plugin to activate the plugin.
A successful installation will show a screenshot such as below:
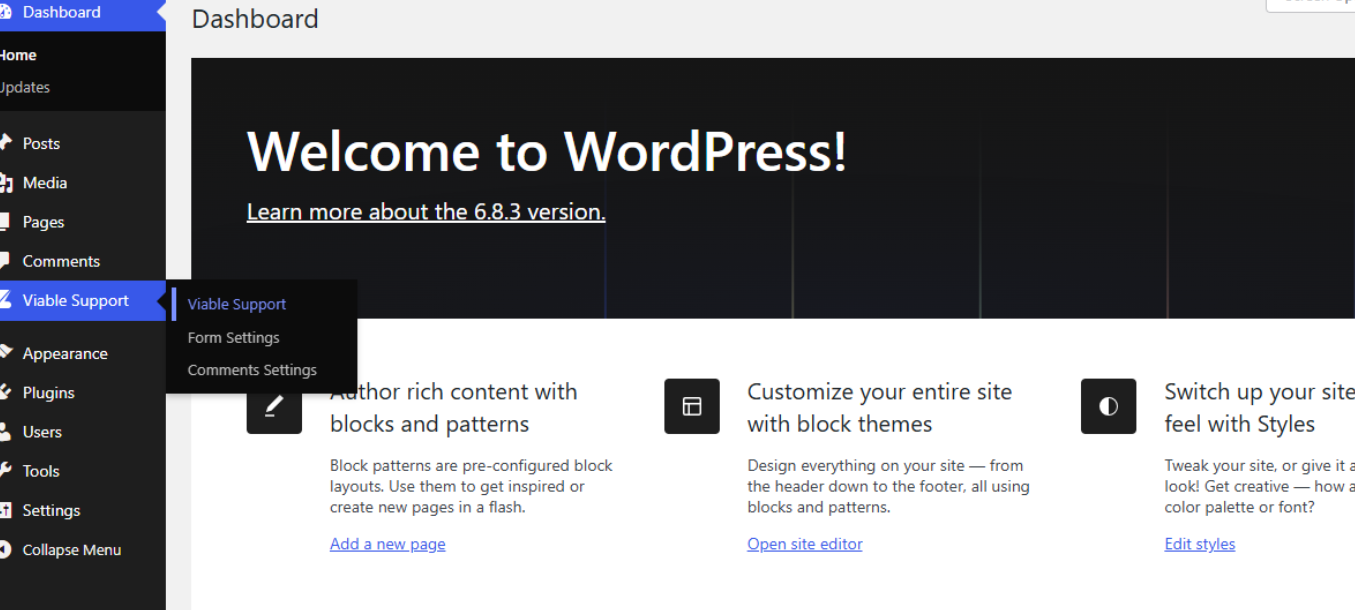
How to Generate Zendesk API Token Keys
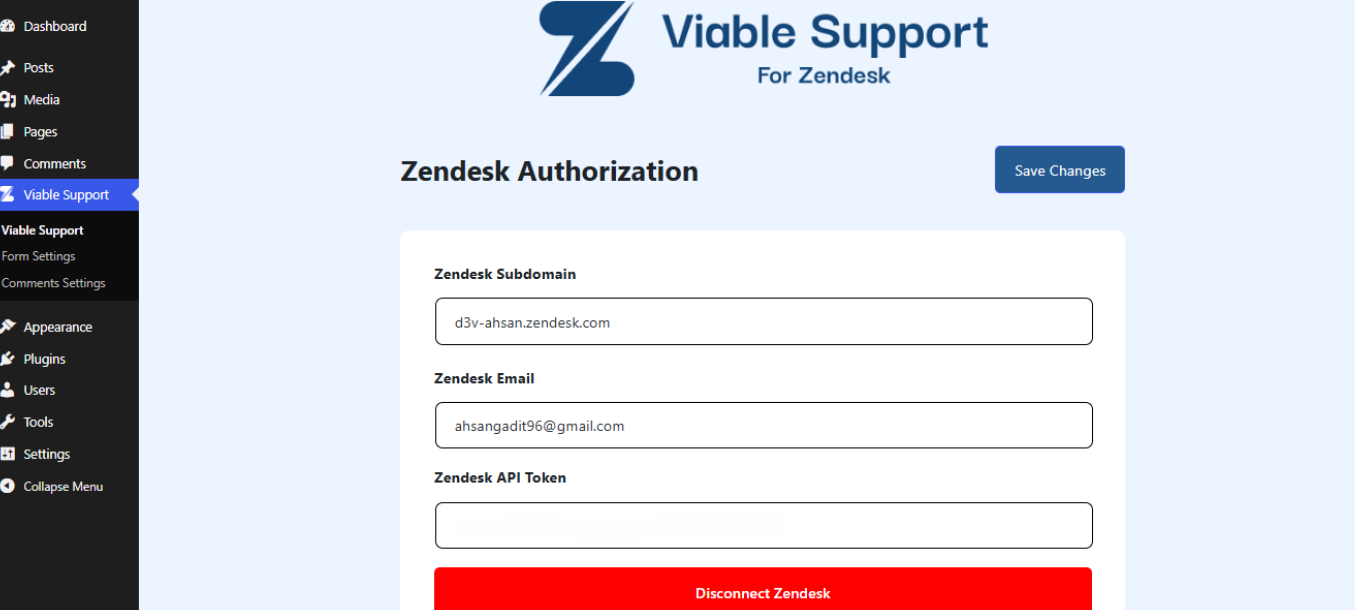
After Installation, the Plugin will show up as Viable Support in the WordPress Dashboard.
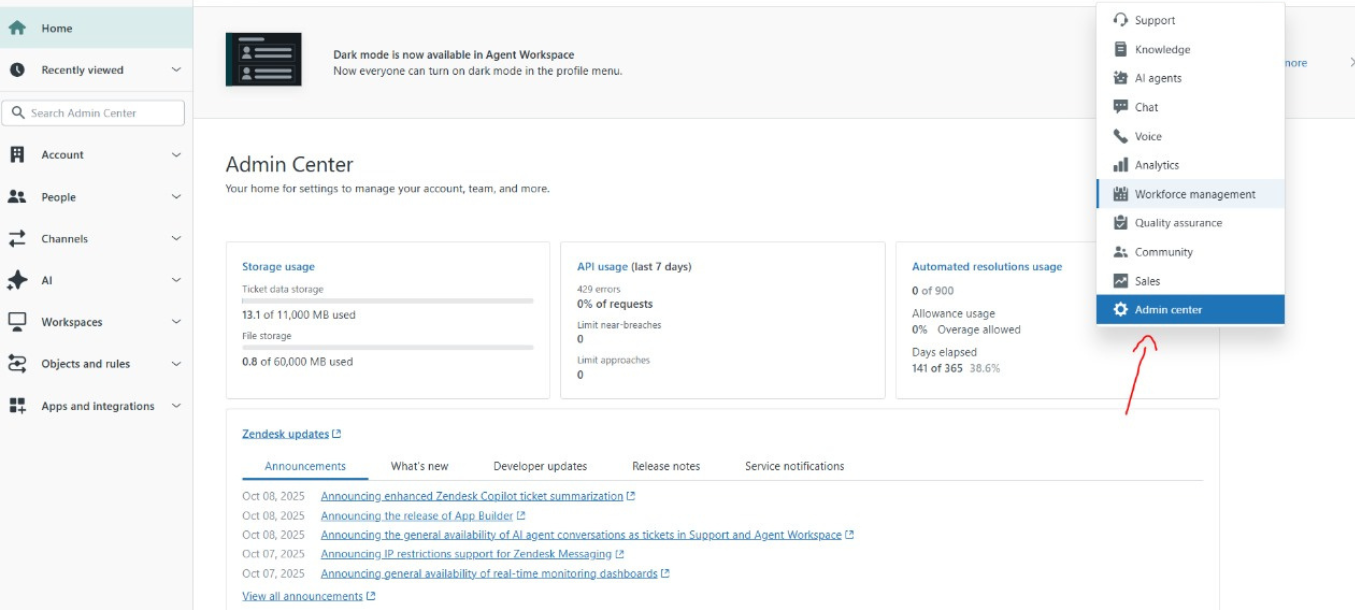
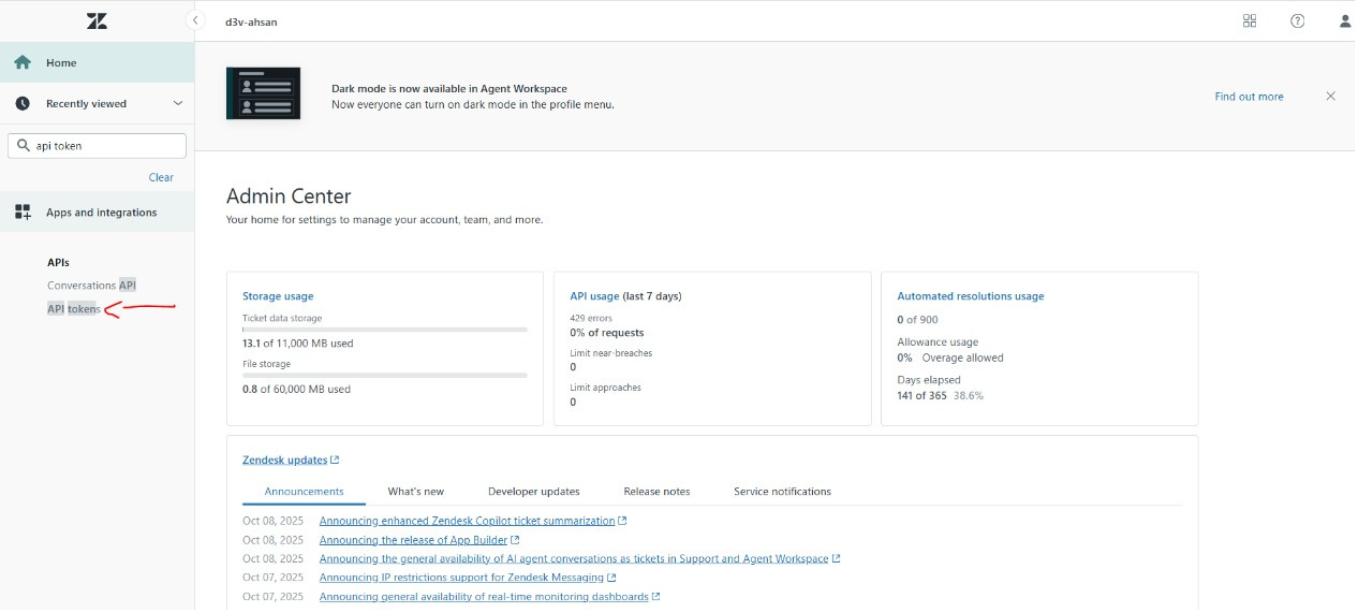
To generate a Zendesk API Token key, go to your Zendesk Dashboard and open Admin Center.
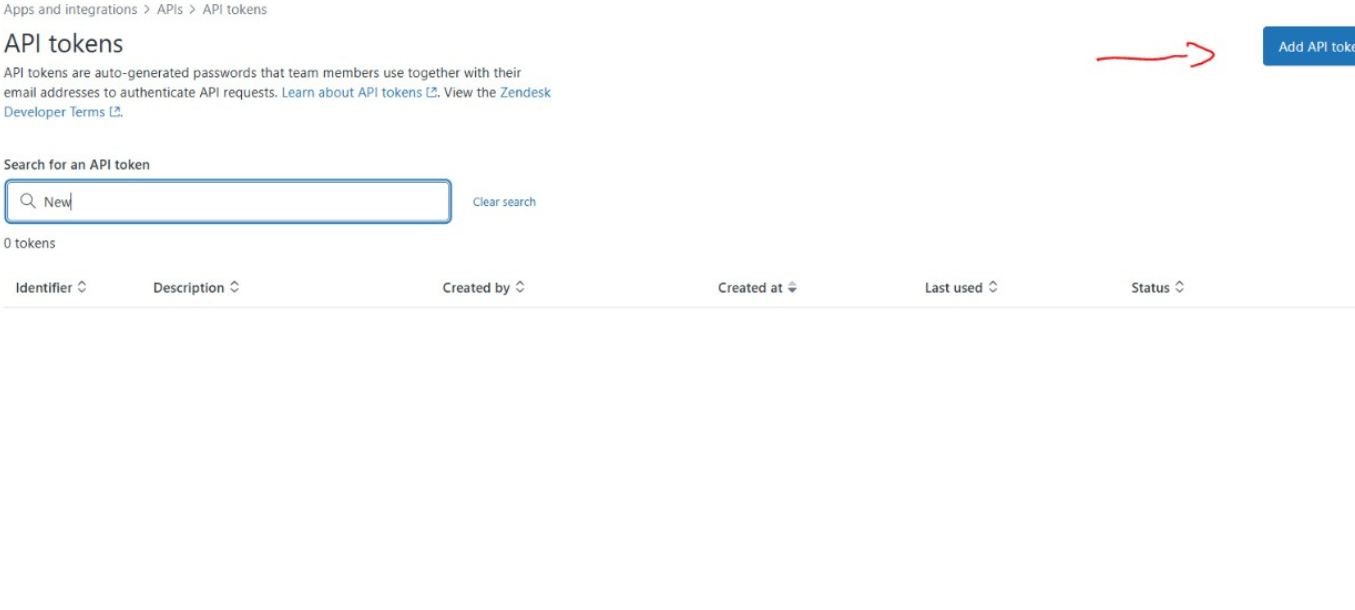
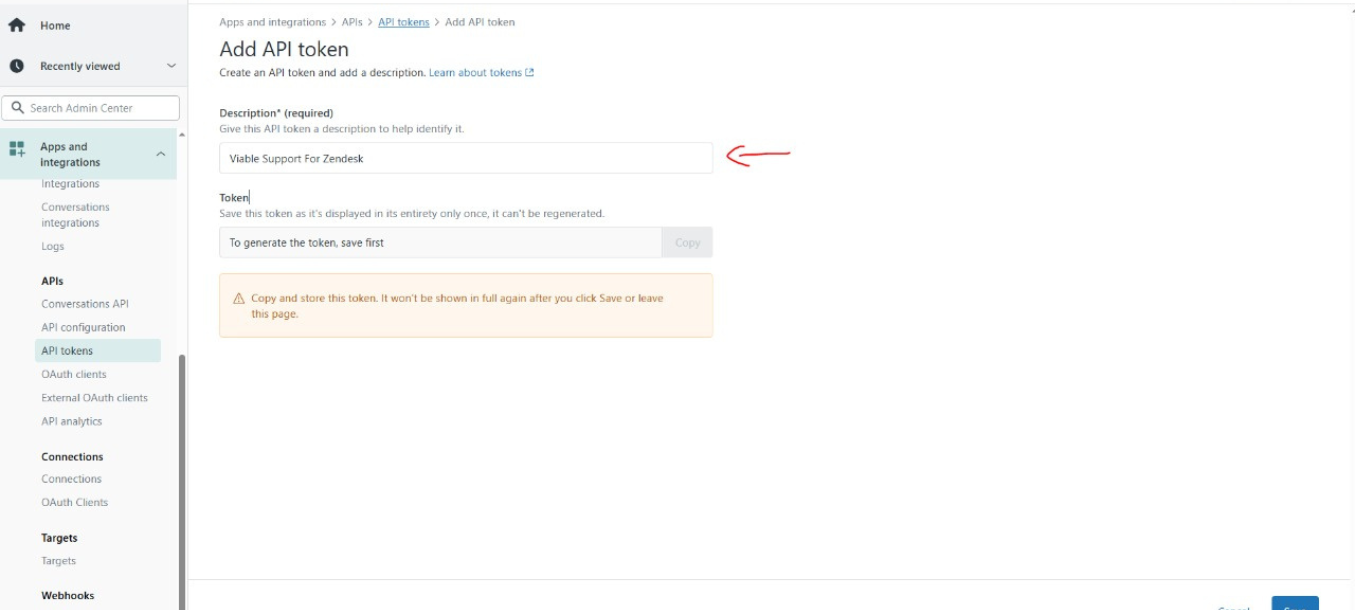
Click the Add API token button to generate a new token.
Search for the API token in the search bar and click on the one shown below.
Click the Save button to generate the token.
After the token is generated, copy and paste it into the Zendesk API Token field of the plugin when authorizing it.
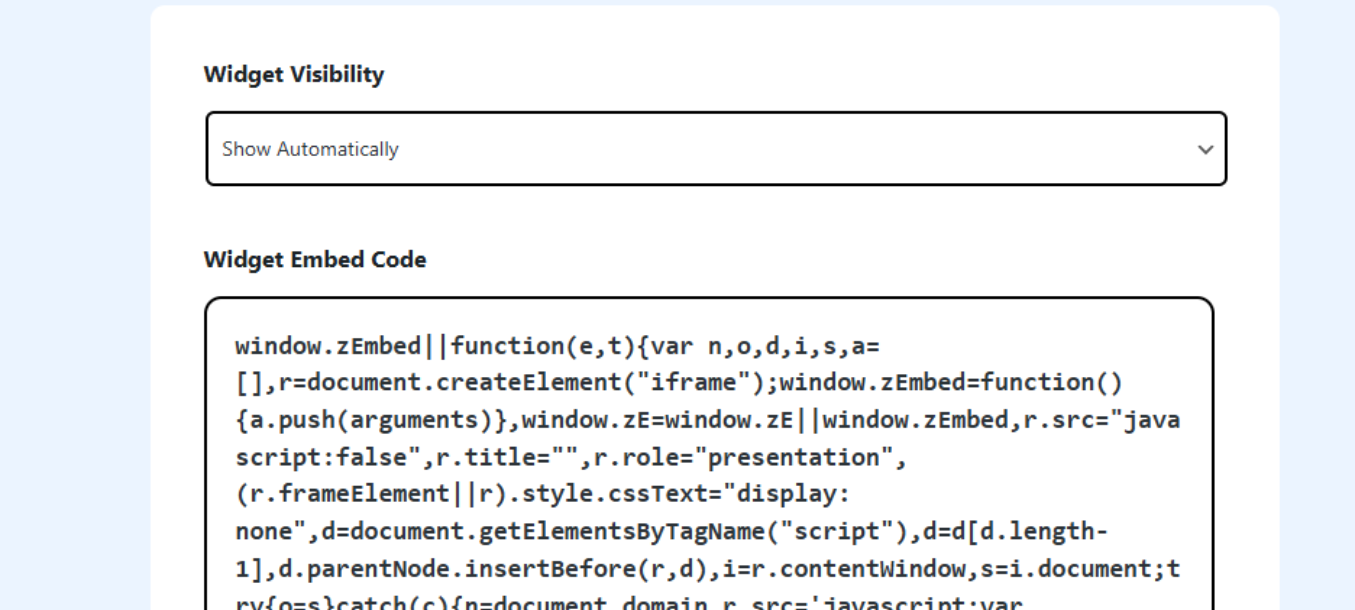
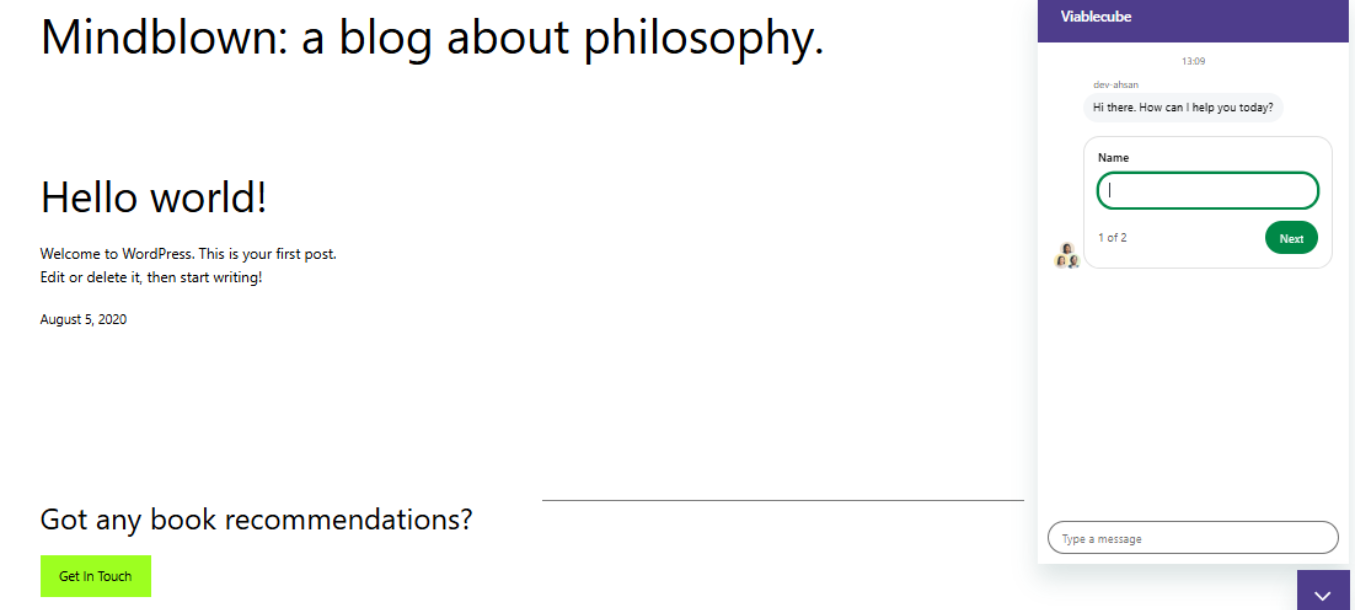
How to Install and Set Up the Zendesk Chat Web Widget
Select the Show Automatically option to display the chat plugin when the website loads.
Plugin when it appears on the website.
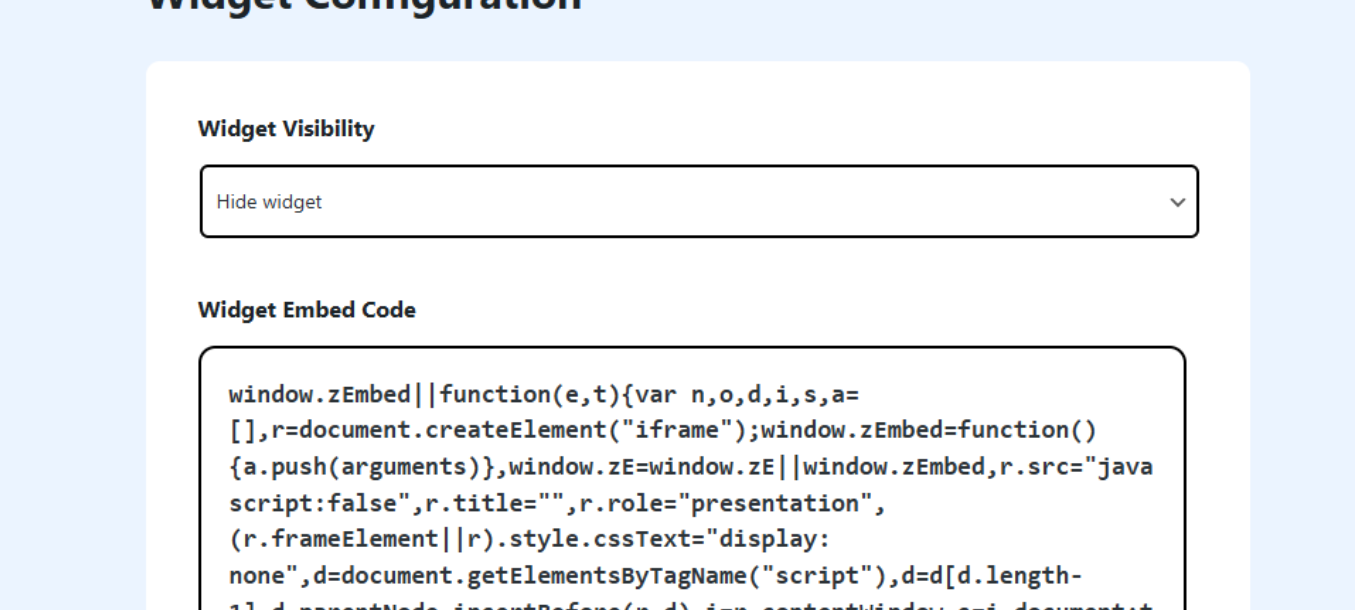
If you choose to hide the widget, then it won’t appear on the website front when it loads.
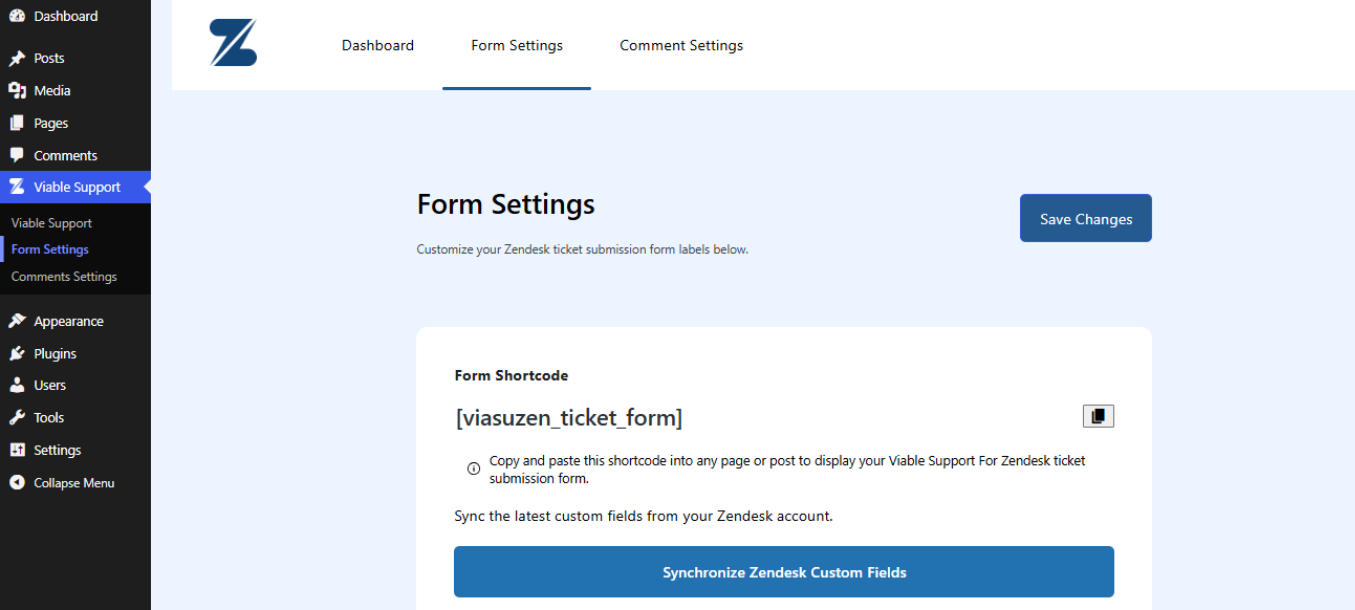
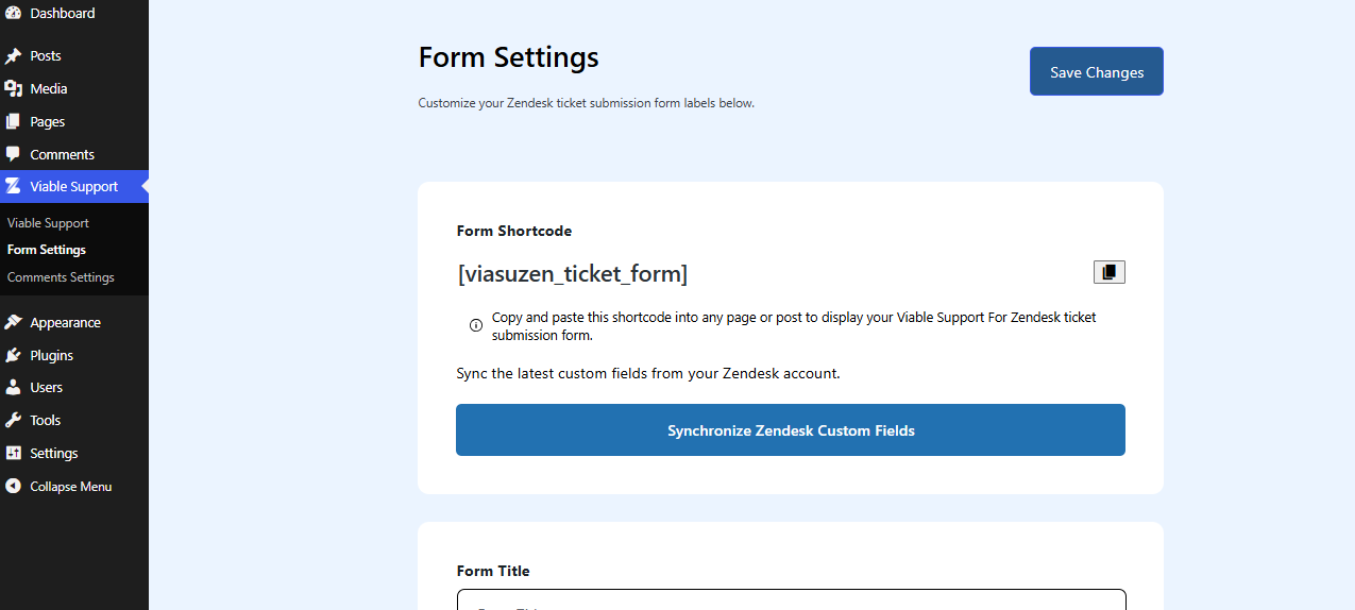
Form Settings & Zendesk Custom Fields
Go to Form Settings Under Viable Support.
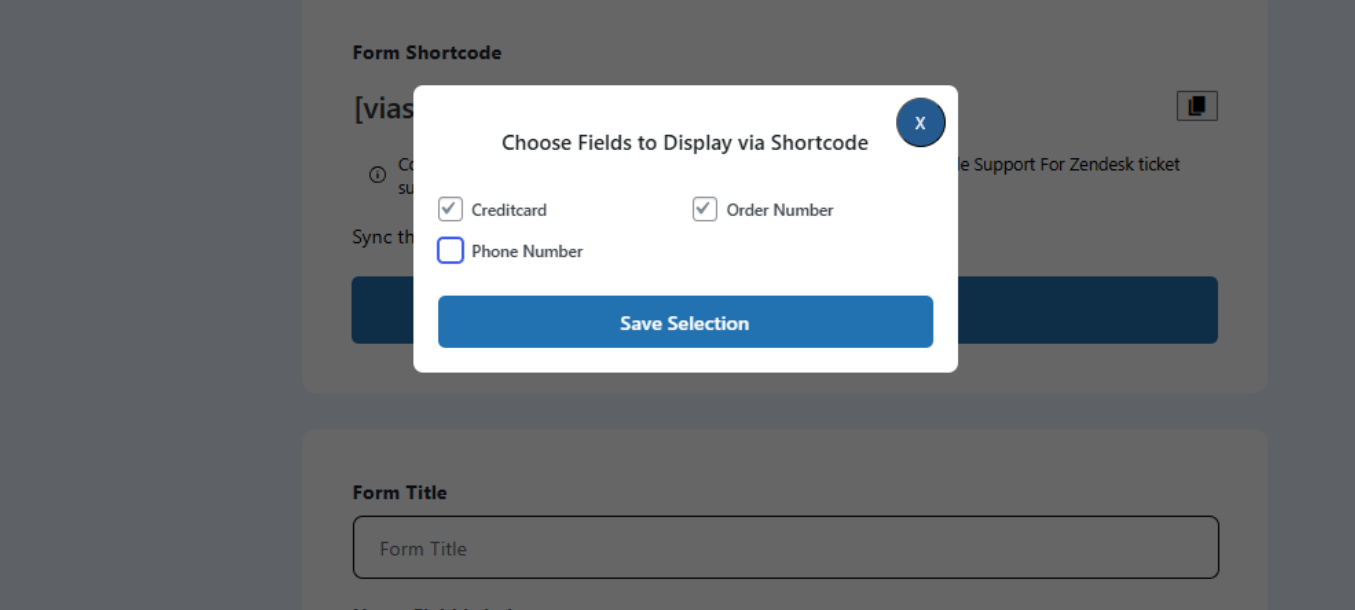
Now, Click on the Synchronize Zendesk Custom Fields. Click on the Options you want to synchronize. Please note that only the text form fields will be available in the Free version of the plugin. All other form fields, phone number, credit card, and more will be available in the Pro version or may become available for free in the next updated version of the plugin.
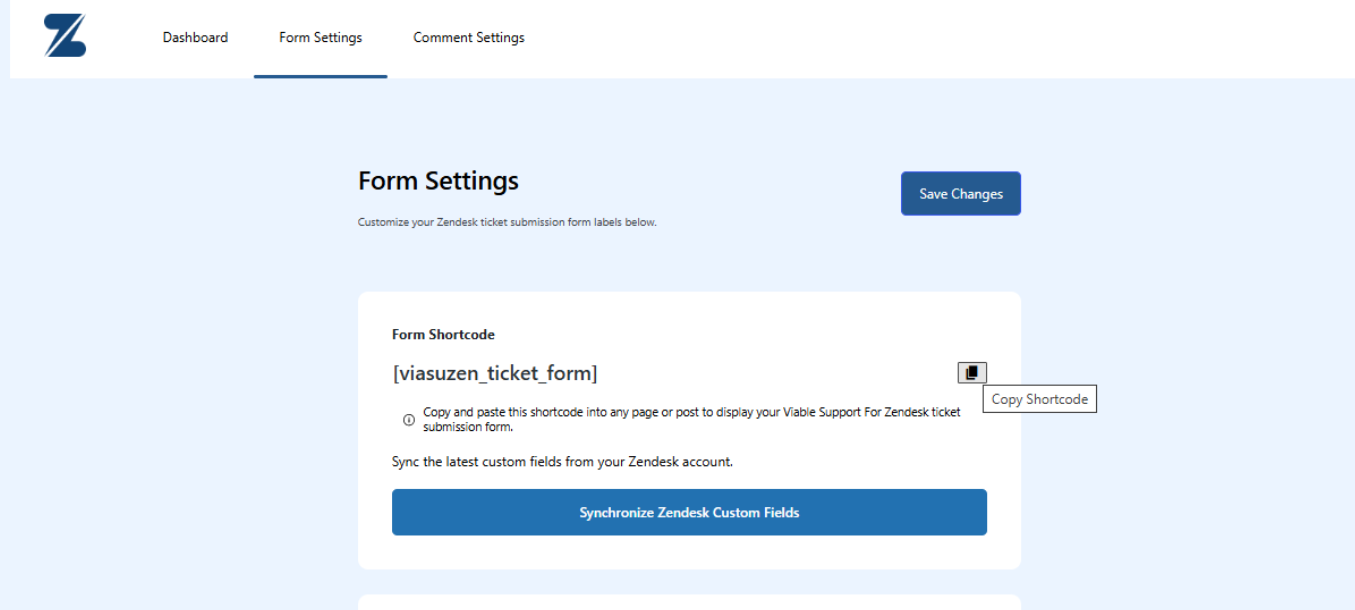
Now the form will appear as shared in the screenshot below. Click Save Changes.
Now, click on the Save Changes button.
How to Display the Form on a Page or Post?
To display the form on any post or page, copy the shortcode.
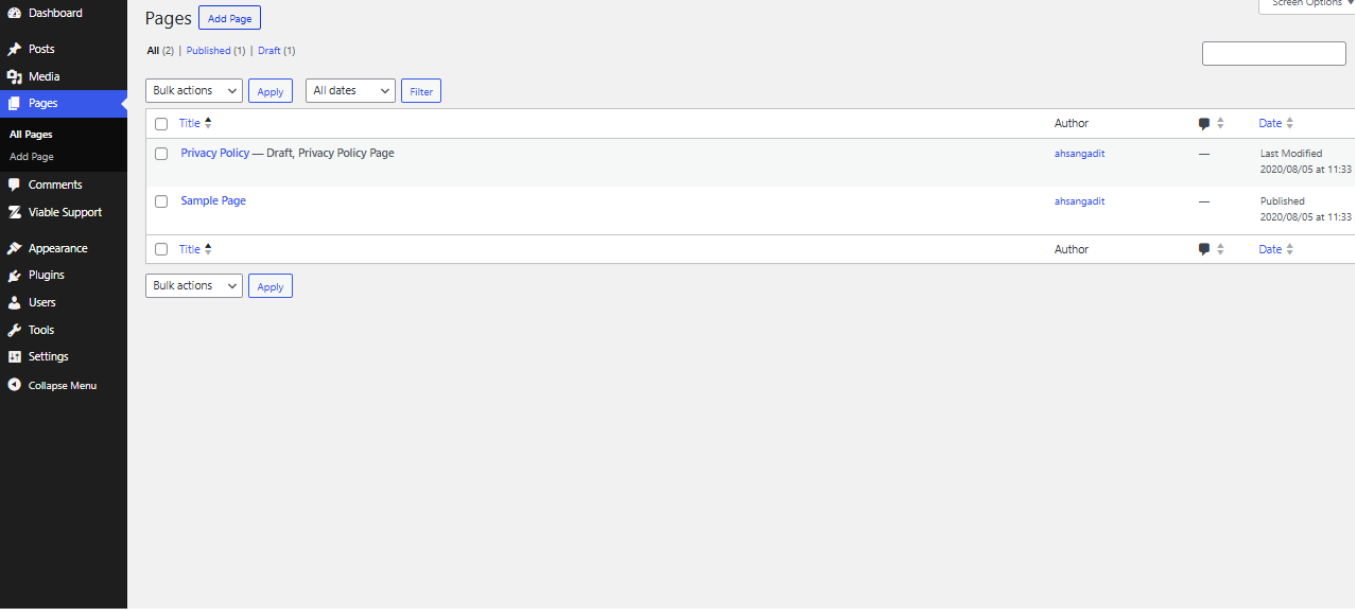
Go to Pages -> Add New Page
Click on Add Page
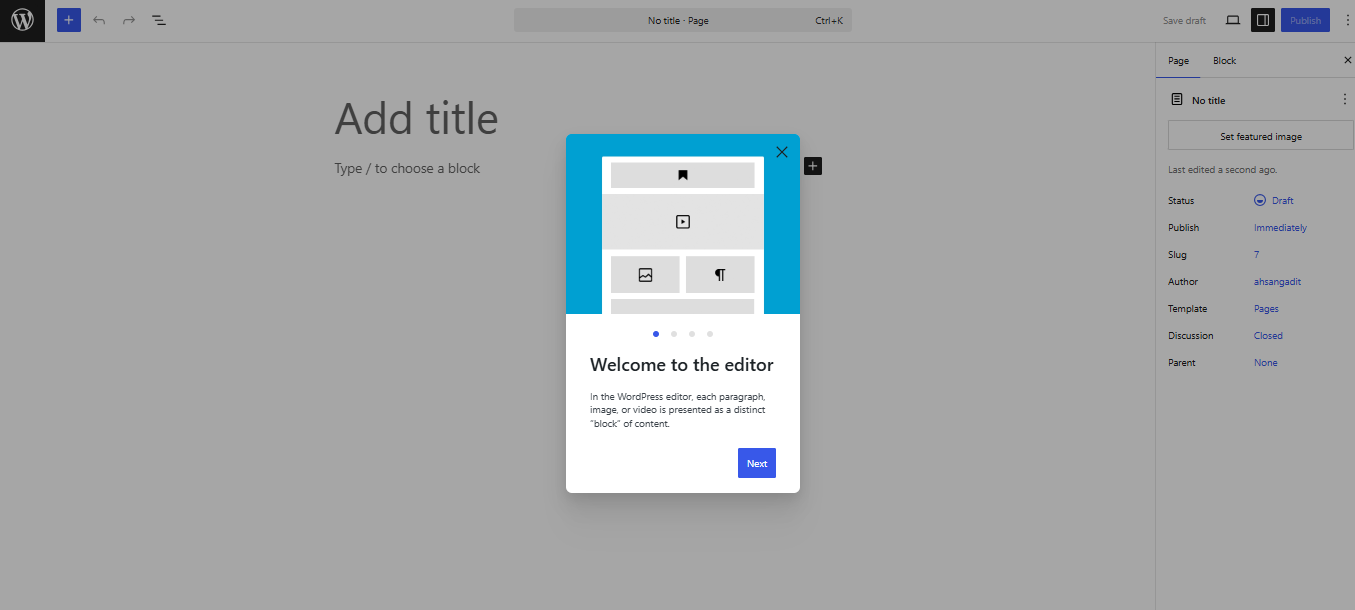
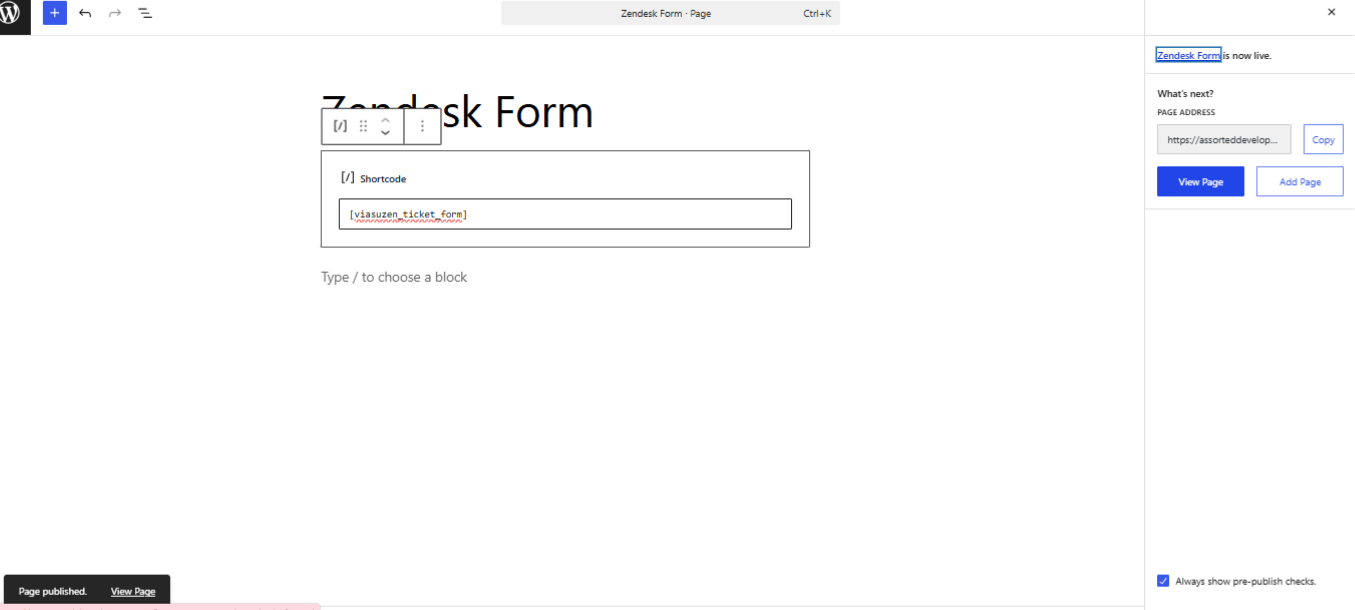
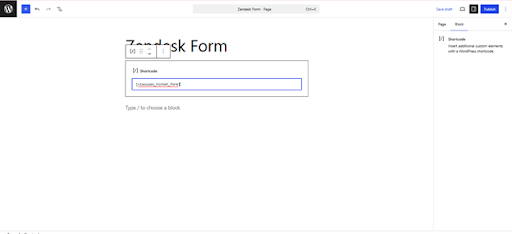
Now, enter your page Title as “Zendesk Form” and insert a shortcode block.
Now, publish the page.
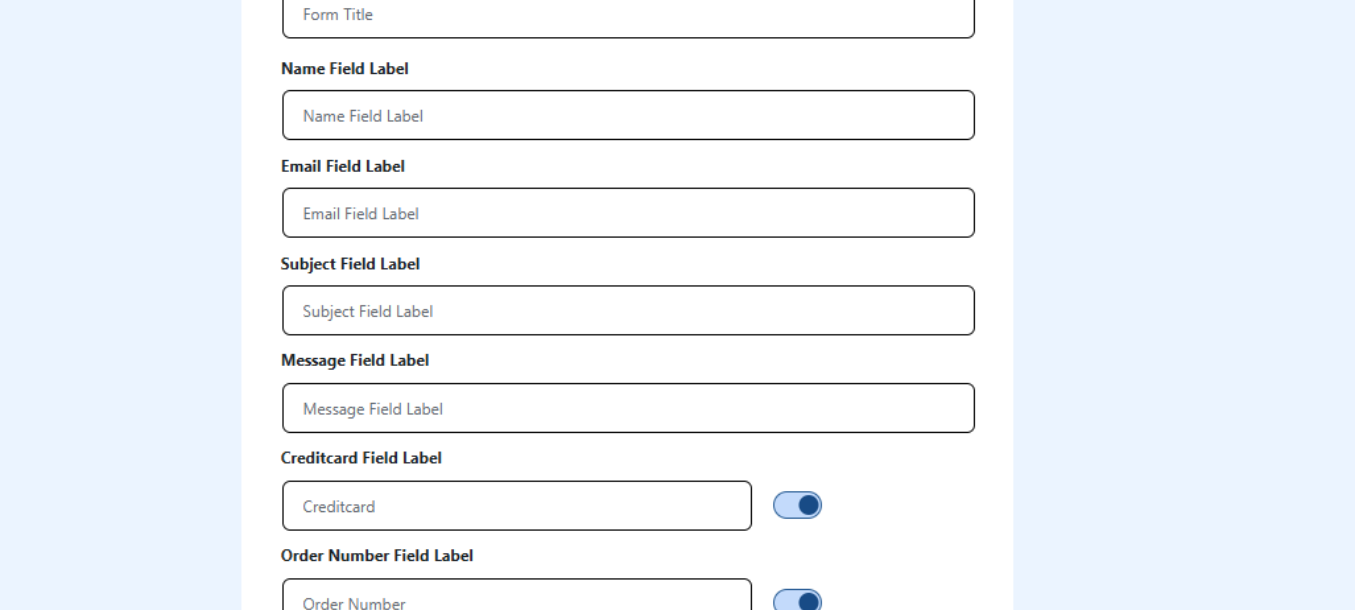
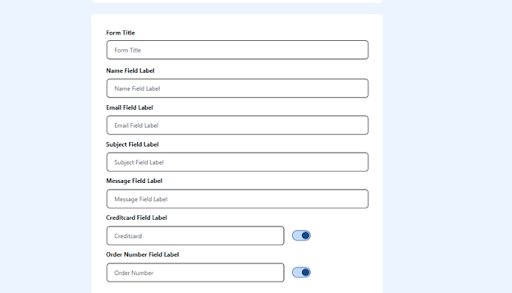
Your Page will appear as below. You will see the custom fields added to the form.
If you go back and uncheck these fields, the form here will shorten and remove those fields. Whenever someone wants to submit a ticket, they will fill in the details and click the submit ticket option.
The message of the Zendesk form will be received as an email in your ticket system.
Comment Settings for Ticket Creation
You can also raise a ticket through comment settings. Go to Zendesk Form Comment Settings. Enable the first two options, “Enable comment sync and auto approve comments” and check posts.
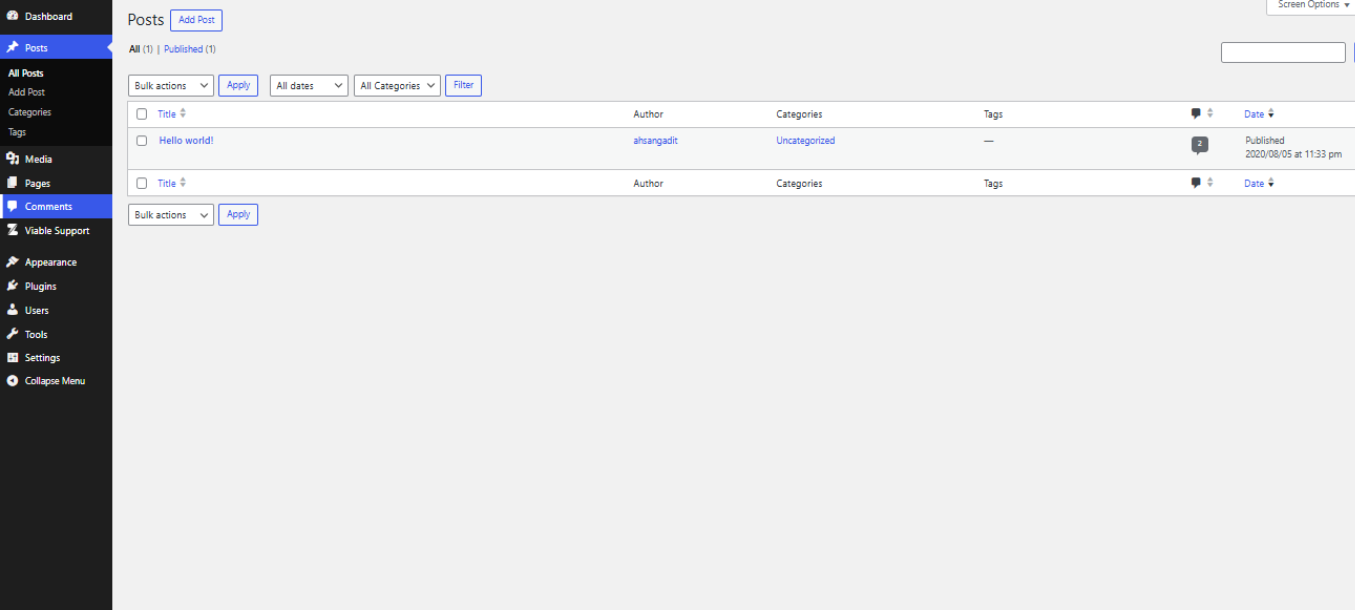
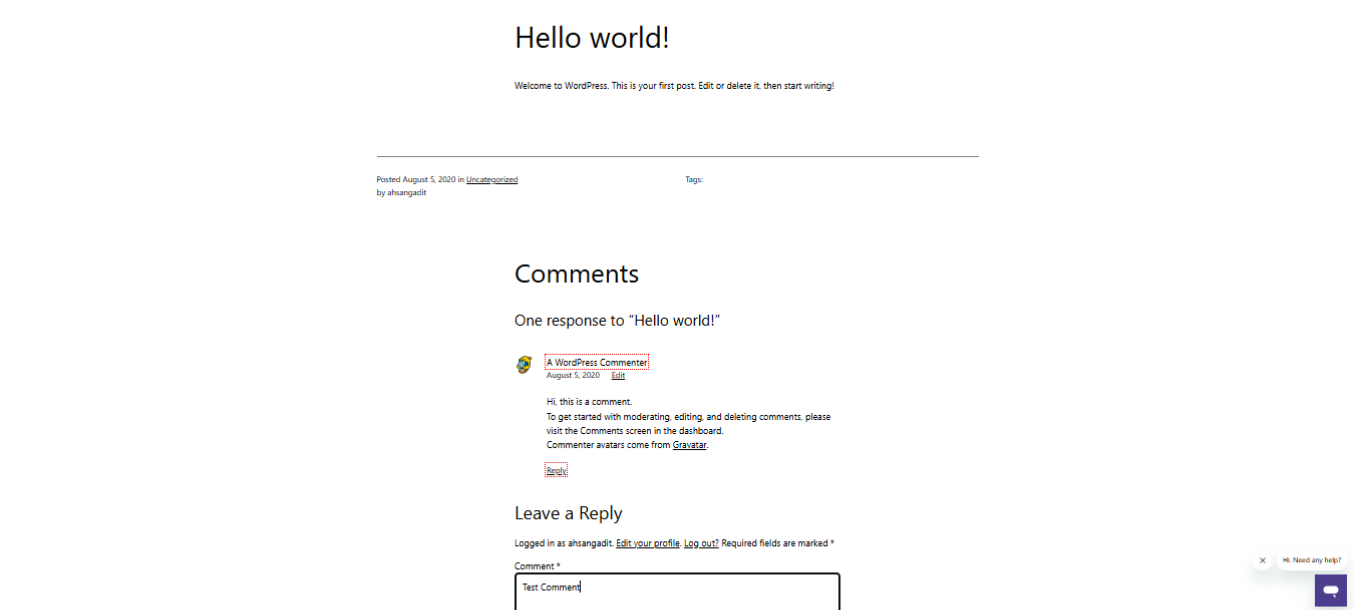
Open a Post to insert comments on it and then post comments.
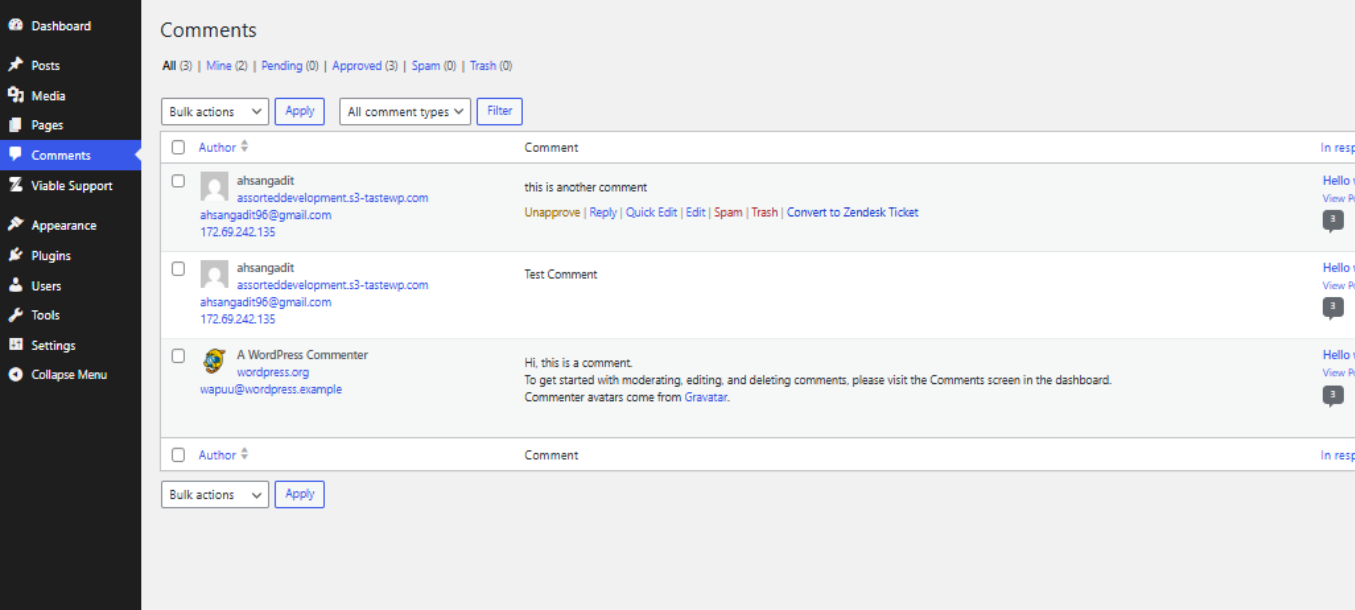
Go to Comments and read your comment. The comments will appear below the post as shared below.
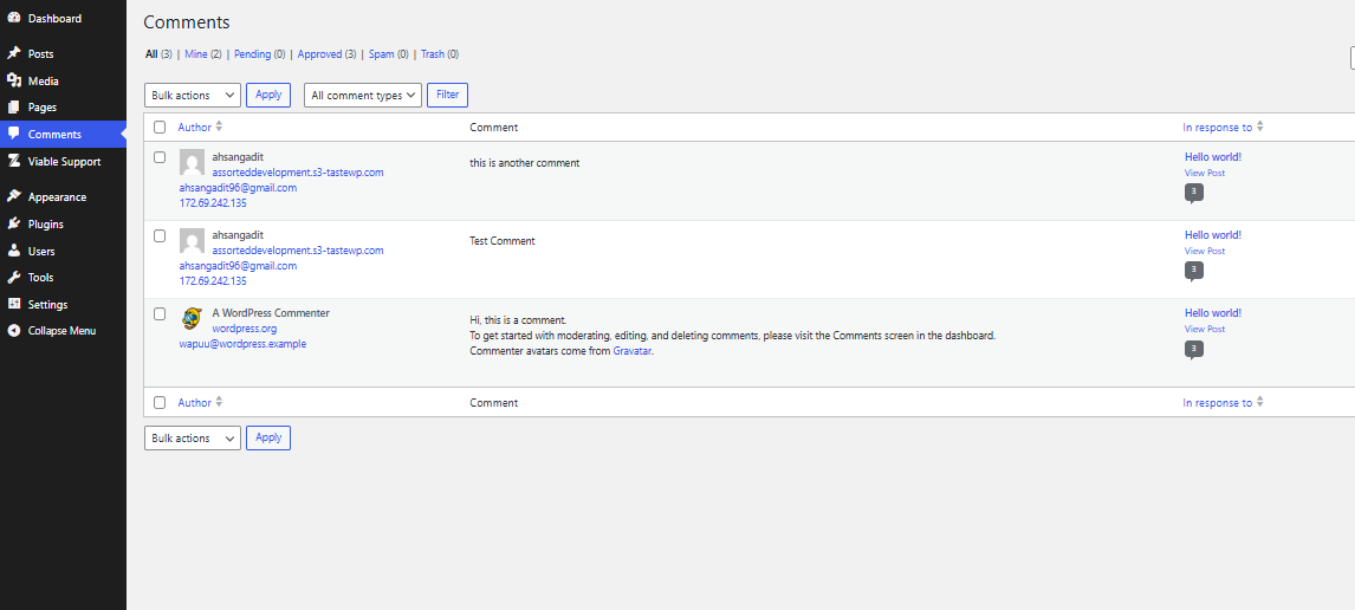
Go to Comments in the WordPress dashboard, and you will see all comments added there.
When you click on your comment, you have the option to turn it into a Zendesk Ticket, since you checked the options in the comment section of the Viable Support plugin above.
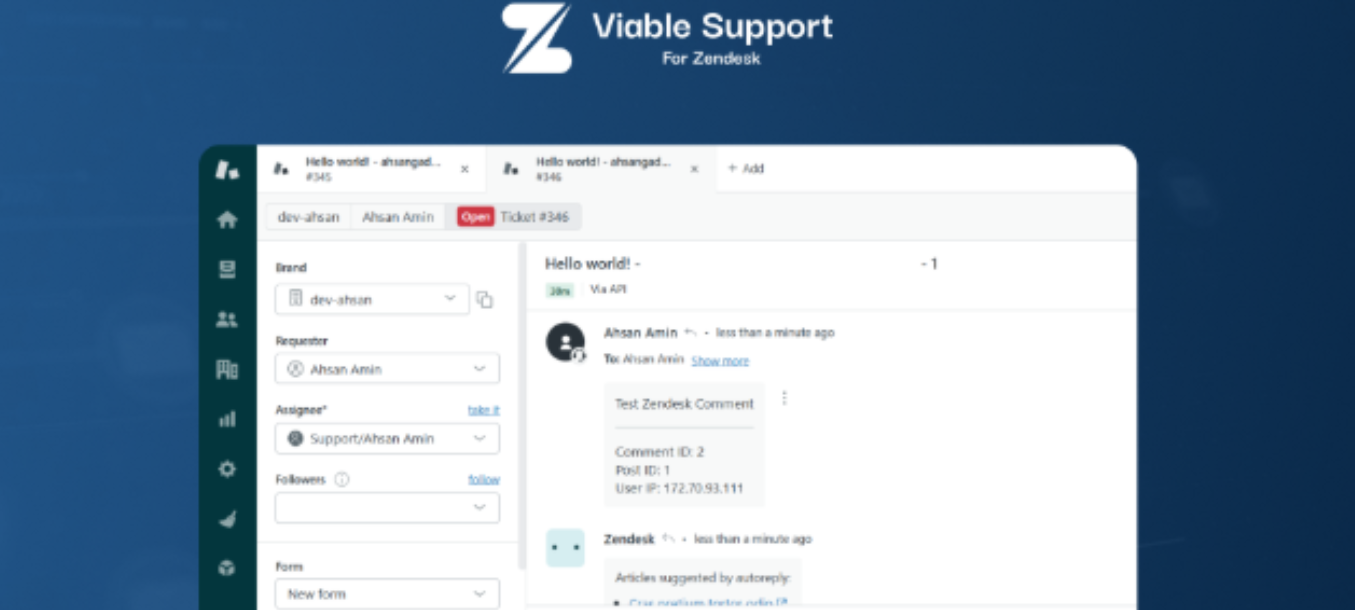
The ticket will be received as shared in the screenshot below in your Ticket Support System.
If you uncheck the Enable Comment Sync option in the comment settings, the option to convert the comment into a Zendesk ticket will be removed.
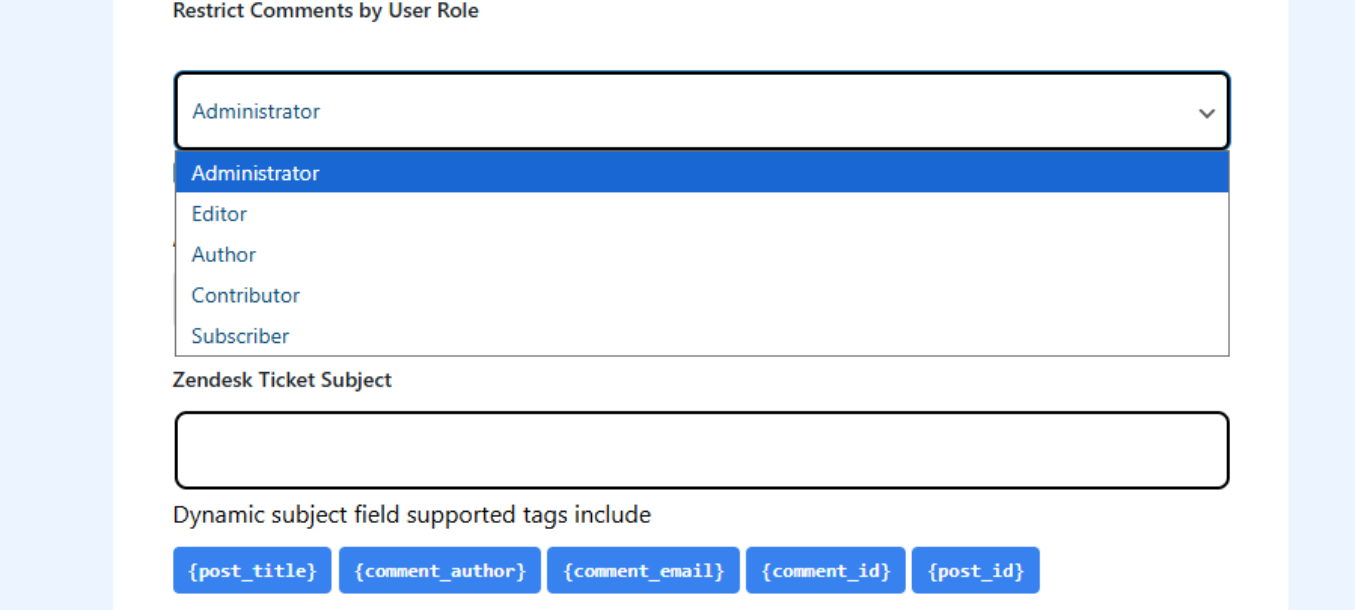
Restricting Comments by User Role
You also have different User Roles available: Administrator, Editor, Author, Contributor, and Subscriber, who can post comments.
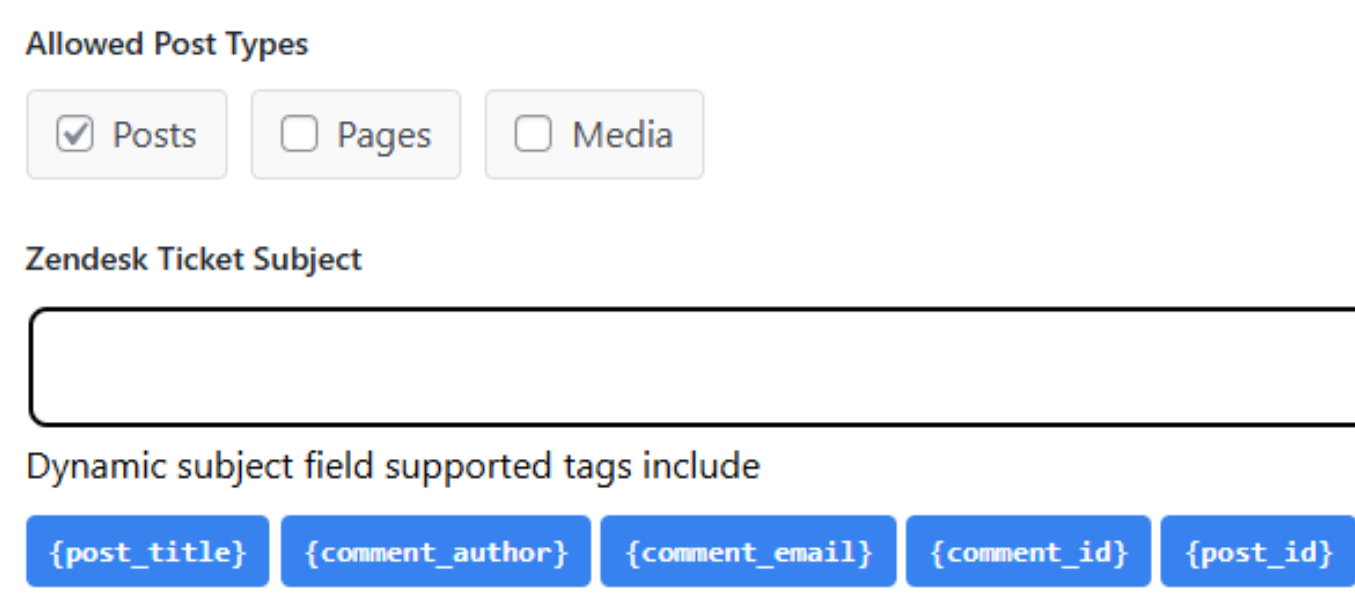
Post Types & Ticket Subject Configuration
You have multiple post types, such as Posts, Pages, and Media, etc, as per the website’s theme and nature. The most common one is the Post, also known as a blog post.
The Zendesk Ticket Subject text field is where you can insert your Ticket subject. Different supported subject tags can also be used to make it dynamic if the user desires.
Comment Metadata & Internal Tag Settings
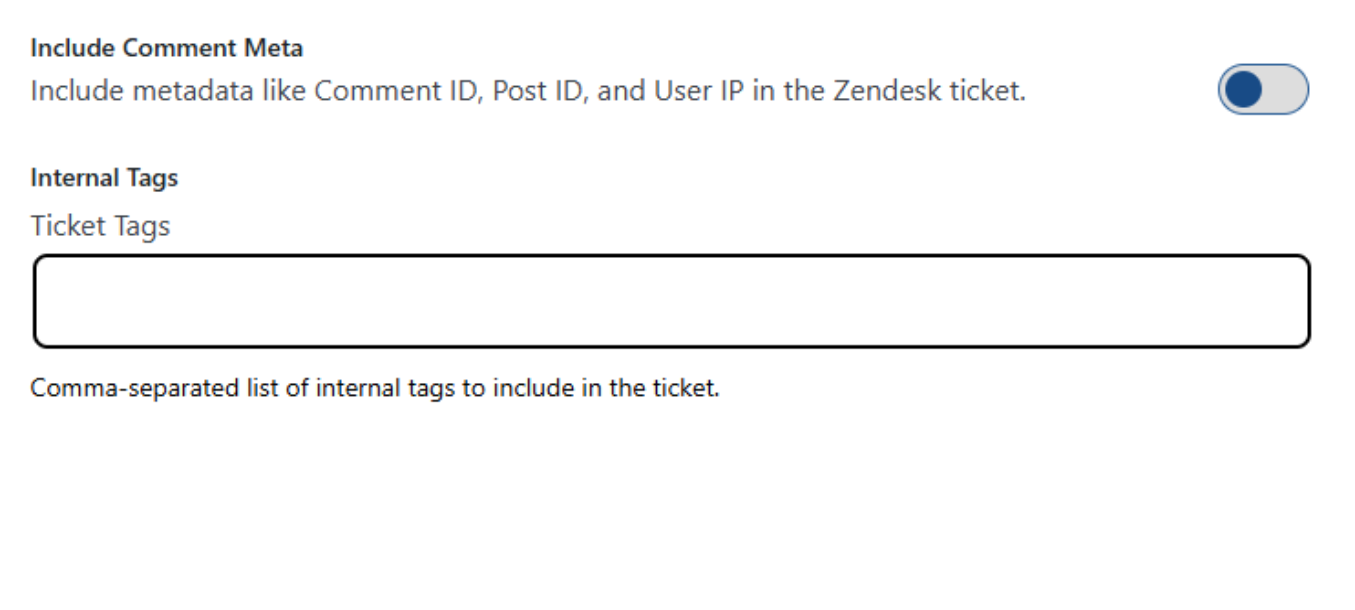
You can also add your Comment ID, Post ID, and User IP in your Zendesk Ticket if you enable the Include Comment Meta option. Disabling that would leave it out.
To assign internal tags for your ticket, enter them in the Ticket Tags text field. The metadata and ticket tags help the support team gather more details about the user and their generated ticket.